Article: PSA be aware of the difference between localhost and 127.0.0.1 I was bit in the butt by a bug that sprung up at me over the weekend. It really wasn’t a bug but I think it should be. I explain more down below. Over the weekend I setup a new VPS with Linode where its only job was to be my central always-running syncthing server in the cloud. Upon first setting it up was able to reverse SSH tunnel to it using my standard SSH config and keys using this command.
Advanced Tricks Edit Command in Your Editor Ctrl+X, Ctrl+E - Open current command in your default editor (usually vim or nano)
$ # Press Ctrl+X then Ctrl+E # Your editor opens with the command # Edit it, save, and close # The edited command runs Real use case: You’re building a complex command with lots of flags. Instead of fighting with the one-line editor, pop it into vim, format it nicely, then run it.
Why Learn Commandline Shortcuts? If you’re spending any amount of time in the terminal, learning shortcuts can potentially save you hours in the future. Most people know the arrow keys and backspace, but bash has decades of shortcuts built in that almost nobody uses.
I’ve been using Linux since 2011, and I’m still discovering new ones. Here are the ones I actually use daily, plus some obscure gems.
Navigation Shortcuts Jump to Beginning or End of Line Ctrl+A - Jump to the beginning of the line
The Problem My server, cprox, as I call it, was set up with only 64GB of storage on the root partition. I don’t know what I was thinking at the time, but this caused issues only a week after setting up the new server.
Within this time, the OS, packages, and other things Proxmox does, consumed 86% of the drive. This made things run slowly and caused the command line to freeze sometimes, which was very weird since the OS was on mirrored SSDs - which is exactly what allowed me to do this resizing live.
My ranger config can be found here.
Here is a quick write up of a program that I have heard of before and installed but never found it necessary in my work flow. I have and still am happy to move around in the command line like I have been for the past ten years plus but now after finding a good reason to try it out this time since I have been moving around a lot more in the command line from writing blogs to notes to novels, and everything in between, I felt like my work flow wasn’t as optimized nor as speedy as it could be.
Why Use Vim Plugins? In the Vim Basics series, we covered vanilla vim and how powerful it is right out of the box. And honestly, vanilla vim can handle 90% of your daily work as a sysadmin. But sometimes you want that extra 10% - better syntax highlighting, file navigation, or quality of life improvements that make your workflow even smoother.
The key is not to go overboard. I’ve seen people install 30+ plugins and end up with a slow, bloated vim that defeats the purpose of using a lightweight editor in the first place.
Building on the Basics Now that we know how to open a file, edit it, move around in it, and save it, let us now look into how we can tweak it. My post to part 1 of vim basics can be found here: https://blog.lanlocked.xyz/post/vim-basics-part-1/. Part 2 can be found here: https://blog.lanlocked.xyz/post/vim-basics-part-2.
In this part, we’ll cover visual mode, text objects (which will change how you think about editing), and then dive into customizing vim with your .
Welcome Back In Part 1, we covered the basics of opening vim, understanding normal and insert modes, and moving around with the hjkl keys. If you haven’t read that yet, I’d recommend starting there as we’ll build on those concepts.
Now it’s time to tackle what might be the most infamous aspect of vim: how to actually save and exit the program. We’ll also dive into some useful editing commands that will start to show you why vim users are so passionate about this editor.
Getting to know vim If you are looking for a way to get more efficient at editing configs and text then vim is what you are wanting. Even at its most basic interface with no added plugins, vim can help you manipulate a file with its efficient modes and commands.
vim is not the easiest to learn, especially for beginners where often newbies trying it out for the first time find they are not even able to exit the program.
Editor’s Note: When I first published this article, the https://audible-converter.ml/ shortcut method still worked. As of August 2023, that site is down. The method below using RainbowCrack still works perfectly.
Why You Should Care As Amazon continues to expand their collection of books, music, and audiobooks, licensing disputes with publishers and authors will continue to cause problems. What this means for us as users is that we could lose access to media we purchased on Amazon’s platform.
I am the new owner of a hand-me-down Chromebook that to me, now has a new reason to exist. No longer is it tied to Google and their tracking and ads policies. Rather it is its own system now, complete with Arch Linux/EndeavourOS on i3-wm.
I first purchased this laptop for my oldest child who required something for online school during the Covids and I landed on the Lenovo S340-14. Inside it has a Celeron N4000 dual core/dual hyperthread CPU, 4GB of RAM, 64GB of storage, and a 14 inch TN screen at 1920x1080 and 220 nits.
Even though this device is not meant to be running Linux, I’m going to be tough during this review.
Setup process It’s extremely easy. Enter in the script, read what its outputting, click a few keys, voila, you have a running Asahi Linux system that dual-boots with MacOS. Ok, its not as simple as that but one through ten where 10 is installing Gentoo its like a two. The only gotchas that occur are when you don’t read the final output and your system goes into an infinite boot loop which is remedied by simply resetting and holding the power button until it tells you it is booting into config mode.
I have been using MikroTik (my-crow-tick or me-crow-teek), or however you want to pronounce it, for several years now and I just keep coming back to using it. MikroTik, for the uninitiated, can be quite a difficult system to learn and use. There are quite a bit of gotchas that can bite you along the way and even now, some things can still trip me up if I’m not paying attention to what I’m doing.
In my previous article of , I documented how I was using a Synology DS1520+ as my NAS. After fighting with it and the main array of weird issues Synology desires to implement, which I won’t get into here, I have recently sold the setup and gone with a much more robust system, or systems, in my RV.
I have built three new server systems, but first lets start with what hardware I am currently running.
Updating gitea is a simple as replacing the binary in /usr/local/bin/gitea.
Stop the gitea service $ sudo systemctl stop gitea
Move the current binary from gitea to gitea.old just in case things break. $ sudo mv /usr/local/bin/gitea /usr/local/bin/gitea.old
Use wget to get the the current version: example -> https://github.com/go-gitea/gitea/releases/download/v1.20.2/gitea-1.20.2-linux-amd64. This is not the latest version, this is just an example. cd ~/Downloads && wget https://github.com/go-gitea/gitea/releases/download/v1.20.2/gitea-1.20.2-linux-amd64
Change the name of the file from gitean-x.
I have basically gone this whole entire setup just to get synchronization on AntennaPod and my phone/devices. Is it worth it? Not really as you can do the same with exporting the backup the official AntennaPod to another phone or use an OPML file to do the same for other podcast clients, but its a fun project.
Now that we have Nextcloud up and running now we can install the GPodder Sync app.
After much research and trial and error I have found the gpodder implementation to be very terrible. The only known way to get synchronzation across devices is to setup a nextcloud server and install the plugin/addin gpodder. The other ways that I have tested but could not get any to work due to broken links and or not enough information are with micro-gpodder-server and gpodder2go. Both failed miserably.
The official link/website and how-to from gpodder.
Credit Where Credit Is Due I used a lot of https://old.jamesthebard.net/archlinux-and-u2f-login/ config but then tweaked it and added a litle more explination as his entry was from 2017~.
Let’s Start the Rant I have always wanted a way to get away from always having to type in password to login or use sudo. There are security concerns by allowing this type of login, one is the fact that anyone who possesses my key could then login and run as sudo, also is the factor that with some tweaking you can make it only allow for key entry via u2f :lock:.
vim substitution is one tool any advanced vim user should know. Basically, vim substitution is similar to search and replace used on other file editors but vim goes much further than just searching and replacing files and characters. For anyone who creates bash scripts and edits a ton of config files like myself, will attest to the need to comment and uncomment many lines at a time.
I’ll start with the basic uses of substitution and go into the more meaty commands as we go along.
After using i3-wm, formally known as i3-gaps, for several years on my personal workstation I have not really needed to use the i3lock features that often due to my workstation being in my office where no one else touches it. They wouldn’t know how to use it in they did try and mess with my workstation. But now that I am using my same i3 config across more systems including my work computer where I now use it manage and maintain the network and servers of my work, I began looking for ways to make my computer more secure.
I like to data hoard but I don’t take it the extreme. I am able to prune things I really don’t need. Living in an RV doesn’t help with having excess. In fact part of the liberating thing of the RV life is to get rid of things that we don’t really need. Believe me it was hard giving up on my networks, and servers, server racks, and full tower PCs, but going miniature and finding out what you really need is freeing.
Maybe its my fault but my latest hardware purchase a Lenovo Thinkpad X1 Extreme Gen4 has been nothing but issues for me. Lets start with the hardware. I thought purchasing a badass laptop with a 4K display, RTX 3070 mobile, a 16:10 aspect ratio, and all the other great aspects that a powerful laptop is known for would translate well into a beast of a machine that can handle anything I give it.
EDITOR’S NOTE – 08-07-2023 – This article has been updated to fill in missing info and explain better some misunderstood concepts.
For those of us using SpaceX satellite internet, we have had a great means to have internet in virtually any location now, but it does come with some caveats. One major one is the fact that SpaceX satellite networks are CGNATed (Carrier grade NAT). For those that don’t know what that means, NAT, which is used by virtually any router/modem to redirect an internal network (ie.
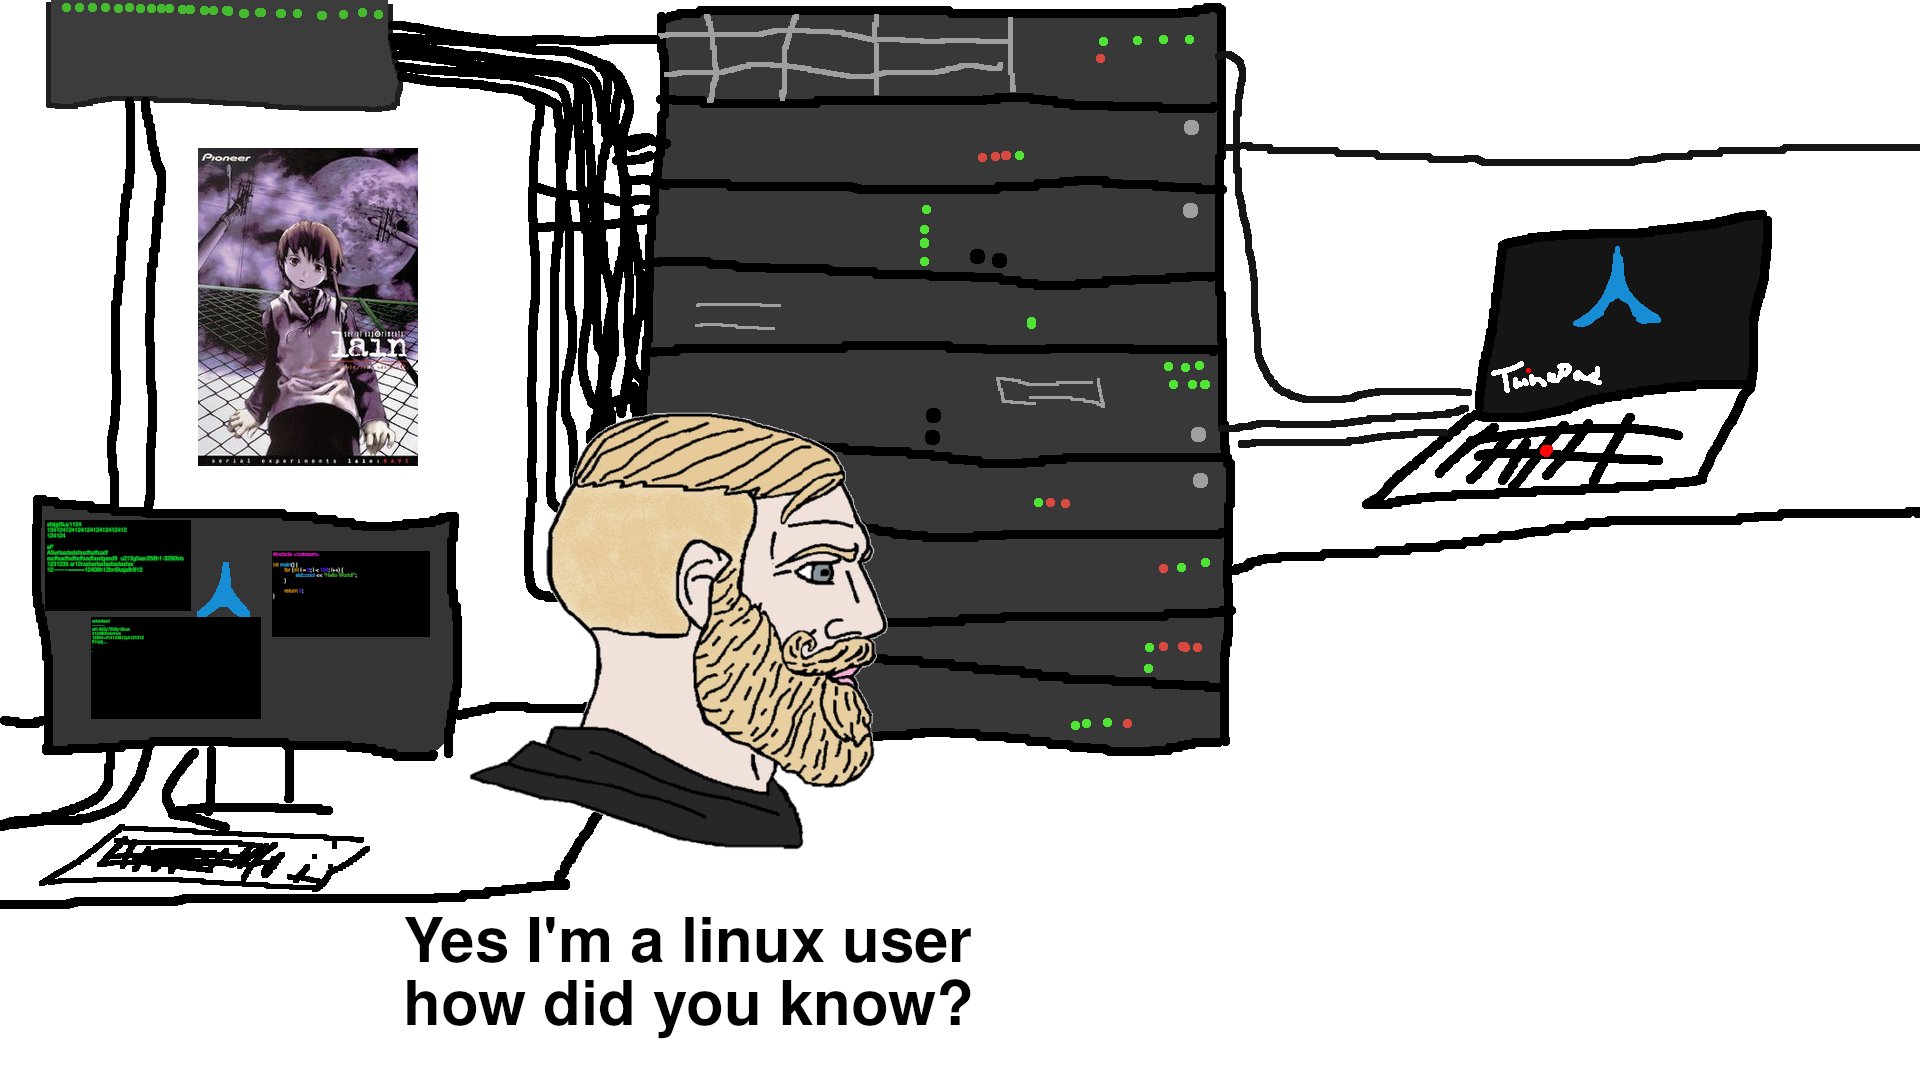
I’ve been a user of Linux since 2011. My brother-in-law was the one who introduced me to Linux and more specifically, Ubuntu. Since then, I have loved every minute of it. Even though I don’t use Ubuntu as my daily driver machine, but I do use it and Debian for servers, I am eternally grateful for him showing me this entire different world of computers.
Sometimes learning new things can be frustrating, and believe me there is a steep climb atop the Linux mountain, but once you reach a certain point you just cannot fathom life without it.
The watch command is used when you want to have a program run every so many seconds that you define. I often use it to see the stream of files that are being transferred or for checking the status of scripts while I test them.
Running The Watch Command Here is a common way that I use watch after I have run rsync just to make sure things are going the way they should:
If you ever have an issue with Arch Linux it could be due to a kernel issue. Due to Arch Linux’s rolling release nature, an update usually comes with a new kernel. Due to the mismatch between what you are running and what Arch Linux is now looking for, various things can stop working.
For me this specifically was the OS would not detect any new USB HDD I had just plugged into my computer.
After using i3-wm (which I will call i3 from here on out) for over 5 years now, I have pretty much got it almost exactly how I like it. For reference here is my latest i3 config which can be found at https://git.wretchednet.com/wretchedghost/i3-wretchedbox This config might change here and there so check often as some things might have been updated since this post.
Today’s lesson will revolve around some advanced tweaks to add to your config for a more finely tuned system on i3.
My current specs can be found here: https://wretchedghost.com/about.
After pulling all the photos and videos from my wife’s iPhone I soon ran into an issue where I found all of her videos were a MOV format. Normally this is not an issue due the fact I can use VLC which can play anything I give it but other software, in this case Synology Photos, would not play this at all on the computer.
Editor’s Note Here is a guide of my super simple install of Arch Linux using a fork of Classy Girraffe’s that users LUKS, ext4, GRUB2, swapfile, and tmpfs. It can be found here. I also have my i3 dotfiles that you can check out here.
This guide does not hold your hand so you will either need to research a few things you do not know or you must already know what commands and flags are needed when presented.
Mounting more than just the root partition at boot using LUKS/dm-crypt is a little more complicating than setting up just the one. Rather than just placing your UUID of the root partition in the /etc/default/grub file you have to go through several more steps. Follow along as I describe a simple way to get more than one partitions/disks mounted at boot time.
When you might not want mount-encrypted drives at boot.