How to Sync AntennaPod with Nextcloud | Part 1

After much research and trial and error I have found the gpodder implementation to be very terrible. The only known way to get synchronzation across devices is to setup a nextcloud server and install the plugin/addin gpodder. The other ways that I have tested but could not get any to work due to broken links and or not enough information are with micro-gpodder-server and gpodder2go. Both failed miserably.
The official link/website and how-to from gpodder.net called mygpodder has a broken link and requires various weird ways to get it to work using sqlite3, cargo, npm, etc. The cargo program is run in .exe making me think they have this running on windows and not on Linux.
The official way to get AntennaPods to sync with gpodder is via gpodder.net where you need to sign up for an account but what I have heard from others is that the site is really slow and sometimes will even not sync correctly causing things to error out and or corrupt podcasts listen time, etc.
VERDICT and TLDR: It’s not worth setting up a Nextcloud instance just to sync antennapods unless you use several different devices and you also have a Nextcloud instance already set up.
But if you still want to set it up I will be breaking down the process on how to do so on a VPS. I am using linode’s $5 a month plan. It comes with 1GB of RAM, 1 CPU shared on a AMD 64 core Threadripper, and 25GB of storage.
The specs are nothing to write home about but its cheap and it works well. I have my gitea and blog server running on it at the same time.
Prep and Nextcloud install
There are various versions of Nextcloud. Currently 27, 26, and 25. I am also running Ubuntu Server 20.04 so the most current version of Nextcloud I can use is 25. I have used 26 and 27 and they are really nice and shiny but I wanted something that is bulletproof (I find Nextcloud to be full of holes still, but that is a topic for another day). Today’s post is all about syncing up our AntennaPod stuff.
Most of the docs on Nextcloud can be followed directly found here specifically. I will be running on nginx and mysql/mariadb so basically I will be running a LEMP stack. Let’s first update our system and install the necessary packages.
sudo apt update
sudo apt install nginx mariadb-server
sudo apt install php7.4-gd php7.4-mysql php7.4-curl php7.4-mbstring php7.4-intl
sudo apt install php7.4-gmp php7.4-bcmath php-imagick php7.4-xml php7.4-zip
The later versions of Nextcloud use PHP8.0 and beyond which offer much needed updates and improvements on PHP overall from php7.4, but again this is the battle tested version that you can find many how-tos online as well as how-to tweak and improve due to many people using this exact setup.
Here we are going to setup the database.
sudo mysql -uroot -p
CREATE USER 'username'@'localhost' IDENTIFIED BY 'password';
CREATE DATABASE IF NOT EXISTS nextcloud CHARACTER SET utf8mb4 COLLATE utf8mb4_general_ci;
GRANT ALL PRIVILEGES ON nextcloud.* TO 'username'@'localhost';
FLUSH PRIVILEGES;
quit;
We are creating a database user and giving them a password. Replace the things in ‘username’ and ‘password’ with your user and pass. Next we are adding character sets for the proper utf8 that Nextcloud uses. We grant the privileges of the user to the Nextcloud database. Finally we flush privileges and exit.
Next, we need to download the Nextcloud program from NextCloud. To do so you can go to https://nextcloud.com/install -> Community Projects -> Archive -> Changelog -> Nextcloud 25 -> nextcloud-25.0.13.tar.bz2. They really don’t make it easy to find the version you are looking for. Really though, you wouldn’t know where to go nor know which version you require if not for other people like myself helping you out.
You can use this link to download it directly but this will change when the next updated comes out so the above convoluted links are the better way in the future. Nextcloud-25.0.13.tar.bz2
If you are SSHed into your server it might be best to run that link with wget.
$ wget https://download.nextcloud.com/server/releases/nextcloud-25.0.13.tar.bz2
Next, lets untar/unpack it.
$ tar xjvf nextcloud-25.0.13.tar.bz2
tar with the -j flag is used for bzip2 (bz2) files.
Next let’s cp the directory to our root web directory. In Ubuntu’s case that is at /var/www/html/
$ sudo cp -R nextcloud /var/www/html
$ cd /var/www/html
$ ls
nextcloud
index.html
The nextcloud directory has been copied to the root web location. Don’t mind the index.html file, we will deal with that later.
Before we move on, let’s change the permissions on the /var/www/html/nextcloud directory.
$ sudo chown -R www-data:www-data /var/www/html/nextcloud
Reverse-Proxy nginx
The word reverse-proxy is either understood or not. For those that don’t know a reverse-proxy means you are setting up a way for external ports/programs/apps that can interact with another programs, in this case a webapp. Any time you go to a website, even this blog, you are interacting with a reverse-proxy program like Apache2, nginx, varnish, HAProxy, IIS just to name a few. They allow for a client device like Firefox to see the content they are allowed to see and directs them to the correct page they need to go to. It is here that SSL and or TLS is setup.
I prefer to use nginx for static sites and or sites that don’t change often. It is much more lean than Apache2 and is easy to configure. Although, because Nextcloud was designed more around Apache2 the config for nginx is quite large but most of the stuff there you won’t need to touch.
Here is the template they recommend to use:
upstream php-handler {
    server 127.0.0.1:9000;
    #server unix:/var/run/php/php7.4-fpm.sock;
}

server {
    listen 80;
    listen [::]:80;
    server_name cloud.example.com;

    # Enforce HTTPS just for `/nextcloud`
    location /nextcloud {
        return 301 https://$server_name$request_uri;
    }
}

server {
    listen 443      ssl http2;
    listen [::]:443 ssl http2;
    server_name cloud.example.com;

    # Use Mozilla's guidelines for SSL/TLS settings
    # https://mozilla.github.io/server-side-tls/ssl-config-generator/
    ssl_certificate     /etc/ssl/nginx/cloud.example.com.crt;
    ssl_certificate_key /etc/ssl/nginx/cloud.example.com.key;

    # HSTS settings
    # WARNING: Only add the preload option once you read about
    # the consequences in https://hstspreload.org/. This option
    # will add the domain to a hardcoded list that is shipped
    # in all major browsers and getting removed from this list
    # could take several months.
    #add_header Strict-Transport-Security "max-age=15768000; includeSubDomains; preload;" always;

    # Path to the root of the domain
    root /var/www;

    location = /robots.txt {
        allow all;
        log_not_found off;
        access_log off;
    }

    location /.well-known {
        # The following 6 rules are borrowed from `.htaccess`

        rewrite ^/\.well-known/host-meta\.json  /nextcloud/public.php?service=host-meta-json    last;
        rewrite ^/\.well-known/host-meta        /nextcloud/public.php?service=host-meta         last;
        rewrite ^/\.well-known/webfinger        /nextcloud/public.php?service=webfinger         last;
        rewrite ^/\.well-known/nodeinfo         /nextcloud/public.php?service=nodeinfo          last;

        location = /.well-known/carddav   { return 301 /nextcloud/remote.php/dav/; }
        location = /.well-known/caldav    { return 301 /nextcloud/remote.php/dav/; }

        try_files $uri $uri/ =404;
    }

    location ^~ /nextcloud {
        # set max upload size
        client_max_body_size 512M;
        fastcgi_buffers 64 4K;

        # Enable gzip but do not remove ETag headers
        gzip on;
        gzip_vary on;
        gzip_comp_level 4;
        gzip_min_length 256;
        gzip_proxied expired no-cache no-store private no_last_modified no_etag auth;
        gzip_types application/atom+xml application/javascript application/json application/ld+json application/manifest+json application/rss+xml application/vnd.geo+json application/vnd.ms-fontobject application/x-font-ttf application/x-web-app-manifest+json application/xhtml+xml application/xml font/opentype image/bmp image/svg+xml image/x-icon text/cache-manifest text/css text/plain text/vcard text/vnd.rim.location.xloc text/vtt text/x-component text/x-cross-domain-policy;

        # Pagespeed is not supported by Nextcloud, so if your server is built
        # with the `ngx_pagespeed` module, uncomment this line to disable it.
        #pagespeed off;

        # HTTP response headers borrowed from Nextcloud `.htaccess`
        add_header Referrer-Policy                      "no-referrer"   always;
        add_header X-Content-Type-Options               "nosniff"       always;
        add_header X-Download-Options                   "noopen"        always;
        add_header X-Frame-Options                      "SAMEORIGIN"    always;
        add_header X-Permitted-Cross-Domain-Policies    "none"          always;
        add_header X-Robots-Tag                         "none"          always;
        add_header X-XSS-Protection                     "1; mode=block" always;

        # Remove X-Powered-By, which is an information leak
        fastcgi_hide_header X-Powered-By;

        # Specify how to handle directories -- specifying `/nextcloud/index.php$request_uri`
        # here as the fallback means that Nginx always exhibits the desired behaviour
        # when a client requests a path that corresponds to a directory that exists
        # on the server. In particular, if that directory contains an index.php file,
        # that file is correctly served; if it doesn't, then the request is passed to
        # the front-end controller. This consistent behaviour means that we don't need
        # to specify custom rules for certain paths (e.g. images and other assets,
        # `/updater`, `/ocm-provider`, `/ocs-provider`), and thus
        # `try_files $uri $uri/ /nextcloud/index.php$request_uri`
        # always provides the desired behaviour.
        index index.php index.html /nextcloud/index.php$request_uri;

        # Rule borrowed from `.htaccess` to handle Microsoft DAV clients
        location = /nextcloud {
            if ( $http_user_agent ~ ^DavClnt ) {
                return 302 /nextcloud/remote.php/webdav/$is_args$args;
            }
        }

        # Rules borrowed from `.htaccess` to hide certain paths from clients
        location ~ ^/nextcloud/(?:build|tests|config|lib|3rdparty|templates|data)(?:$|/)    { return 404; }
        location ~ ^/nextcloud/(?:\.|autotest|occ|issue|indie|db_|console)                { return 404; }

        # Ensure this block, which passes PHP files to the PHP process, is above the blocks
        # which handle static assets (as seen below). If this block is not declared first,
        # then Nginx will encounter an infinite rewriting loop when it prepends
        # `/nextcloud/index.php` to the URI, resulting in a HTTP 500 error response.
        location ~ \.php(?:$|/) {
            # Required for legacy support
            rewrite ^/nextcloud/(?!index|remote|public|cron|core\/ajax\/update|status|ocs\/v[12]|updater\/.+|oc[ms]-provider\/.+|.+\/richdocumentscode\/proxy) /nextcloud/index.php$request_uri;

            fastcgi_split_path_info ^(.+?\.php)(/.*)$;
            set $path_info $fastcgi_path_info;

            try_files $fastcgi_script_name =404;

            include fastcgi_params;
            fastcgi_param SCRIPT_FILENAME $document_root$fastcgi_script_name;
            fastcgi_param PATH_INFO $path_info;
            fastcgi_param HTTPS on;

            fastcgi_param modHeadersAvailable true;         # Avoid sending the security headers twice
            fastcgi_param front_controller_active true;     # Enable pretty urls
            fastcgi_pass php-handler;

            fastcgi_intercept_errors on;
            fastcgi_request_buffering off;
        }

        location ~ \.(?:css|js|svg|gif)$ {
            try_files $uri /nextcloud/index.php$request_uri;
            expires 6M;         # Cache-Control policy borrowed from `.htaccess`
            access_log off;     # Optional: Don't log access to assets
        }

        location ~ \.woff2?$ {
            try_files $uri /nextcloud/index.php$request_uri;
            expires 7d;         # Cache-Control policy borrowed from `.htaccess`
            access_log off;     # Optional: Don't log access to assets
        }

        location /nextcloud {
            try_files $uri $uri/ /nextcloud/index.php$request_uri;
        }
    }
}
I run my domain in a subroot fashion meaning all of my sites use their name and then my domain name.
- blog.wretchednet.com
- git.wretchednet.com
- nextcloud.wretchednet.com
If you search for nextcloud.wretchednet.com it will go to nothing since I use a different name there but its here just as an extra example.
We will place this in /etc/nginx/conf.d/nextcloud.conf and we only need to edit a few things here.
$ sudo vim /etc/nginx/conf.d/nextcloud.conf
Change server_name cloud.example.com; on line 9 to your fully qualified domain name. Mine would look like:
server_name nextcloud.wretchednet.com;
Do the same thing on line 18 or 19. Lastly, the root /var/www/nextcloud; directory needs to be changed to root /var/www/html/nextcloud;.
The reason we placed this file in /etc/nginx/conf.d/ instead of the other location that you might have seen and even used before at /etc/nginx/sites-enabled/ is that this is a copied setup of Apache2 for those that want it but the creator of nginx suggest that everything be placed in conf.d due to having everything centralized in one location. Also you can disable a site by changed the name from ’nextcloud.conf’ to anything different but I usually go with nextcloud.conf.offline. Then I do a systemctl reload nginx and bam that site is no longer working.
We now basically have everything we need to have the site running except for SSL via certbot and initial setup.
If you are running this on your own local server then you could go to http://localhost/nextcloud to do the initial setup or you could change the server_name to the IP of the server and that would allow for other devices on your network to connect via Firefox or Chrome. Make sure to run sudo systemctl reload nginx if you make any changes to the nextcloud.conf file. Skip the next chapter if you are not needing SSL. If you are on the internet you really should not be doing this without SSL installed. Its easy.
Certbot and domains
I’m not going to get into how to get a domain name but I will help you setup the custom DNS and AAAA that are required to get your domain hosting company to talk to Linode. I’m sure it works similarly with other hosts and other VPS managers.
I have my domain with Namecheap as they are usually the cheapest domain names that also allow for custom dns. That is very important since not all hosters will allow you to do so.
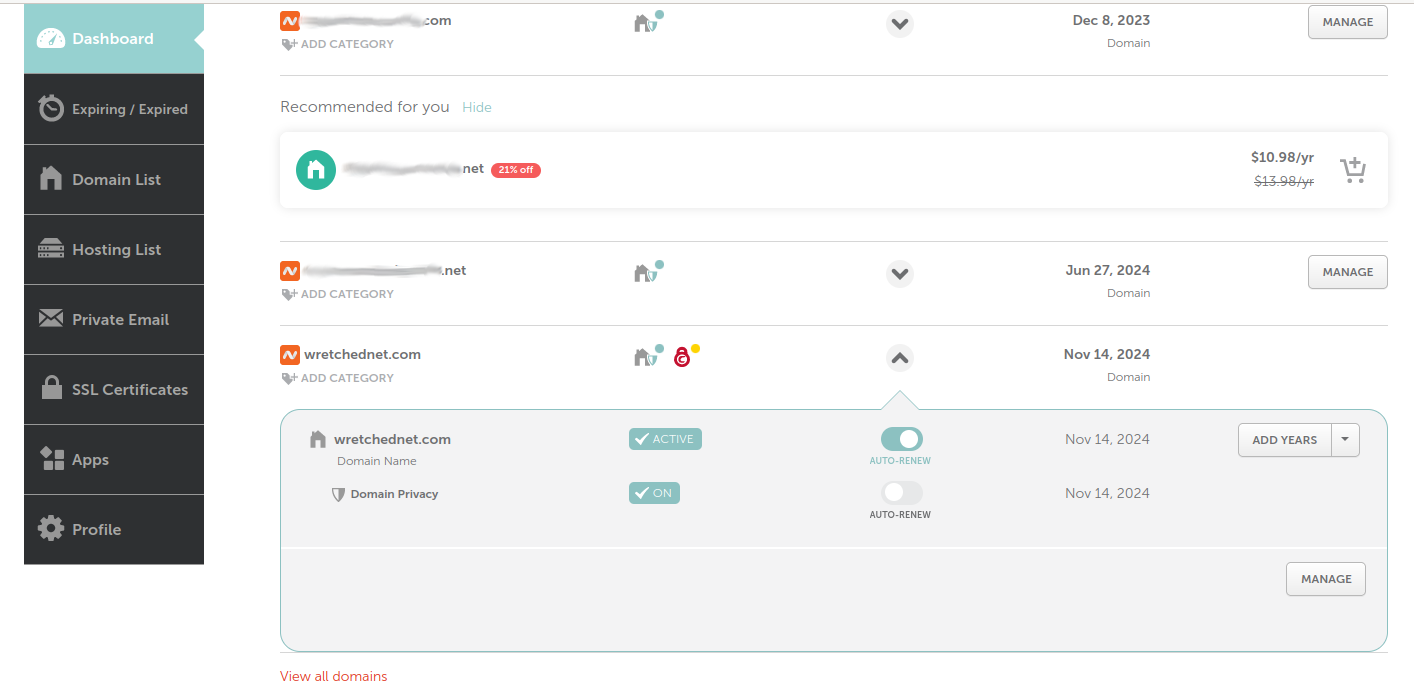
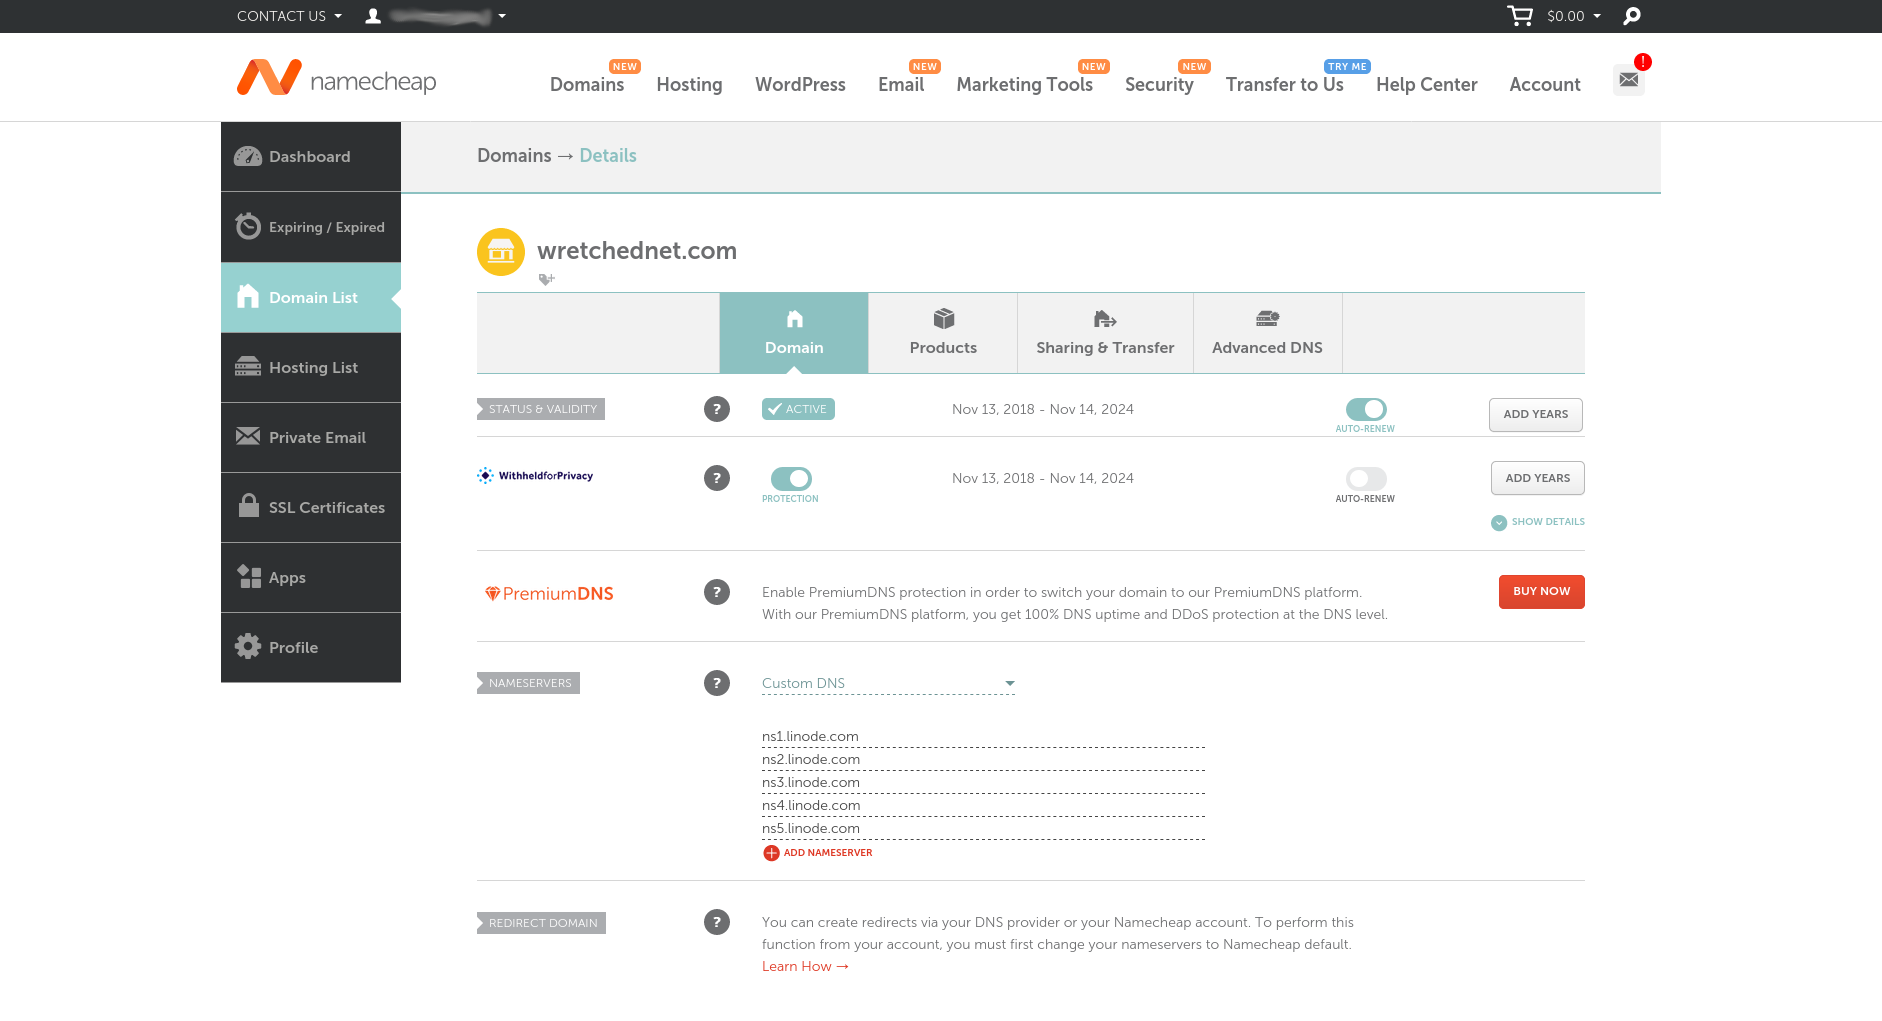
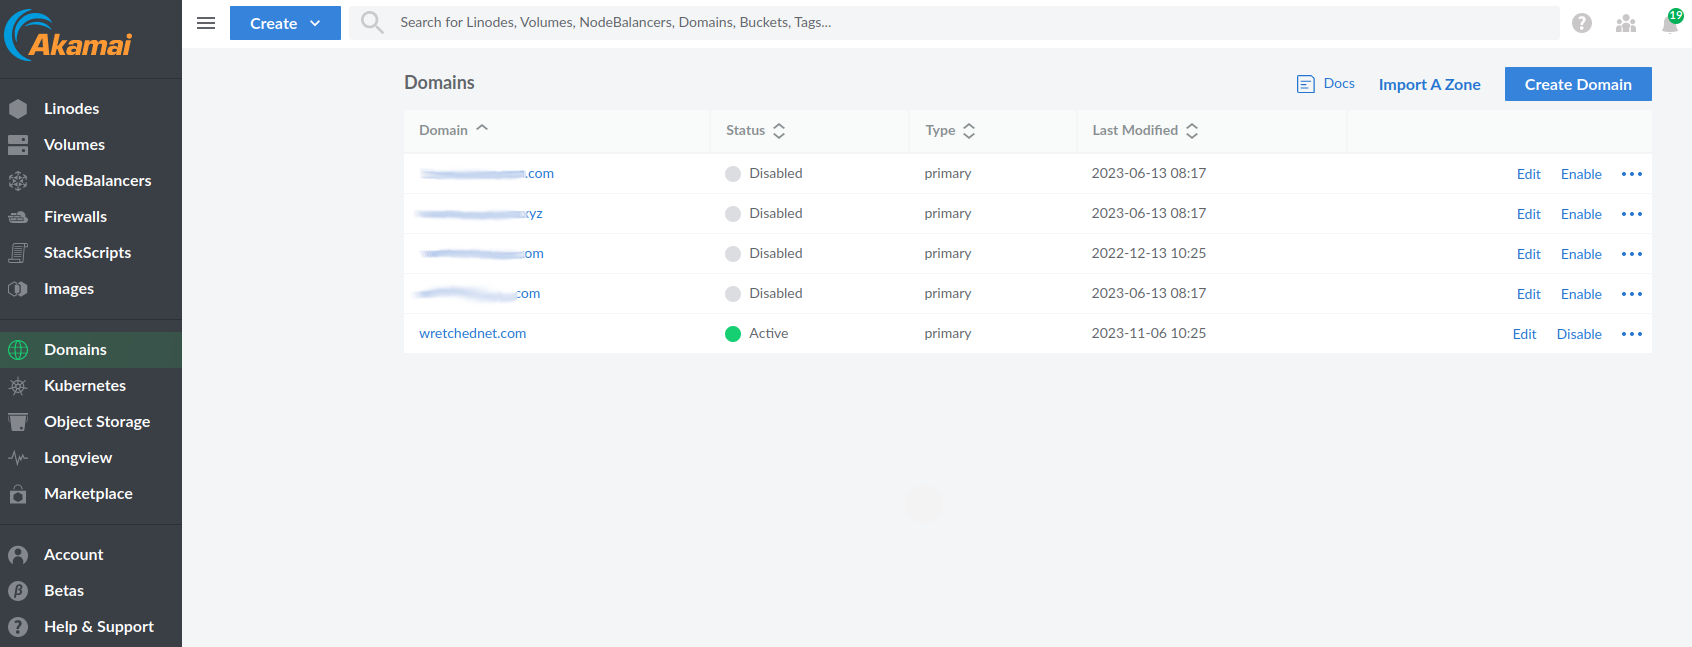
Let’s head to Linode and setup the domain name there.
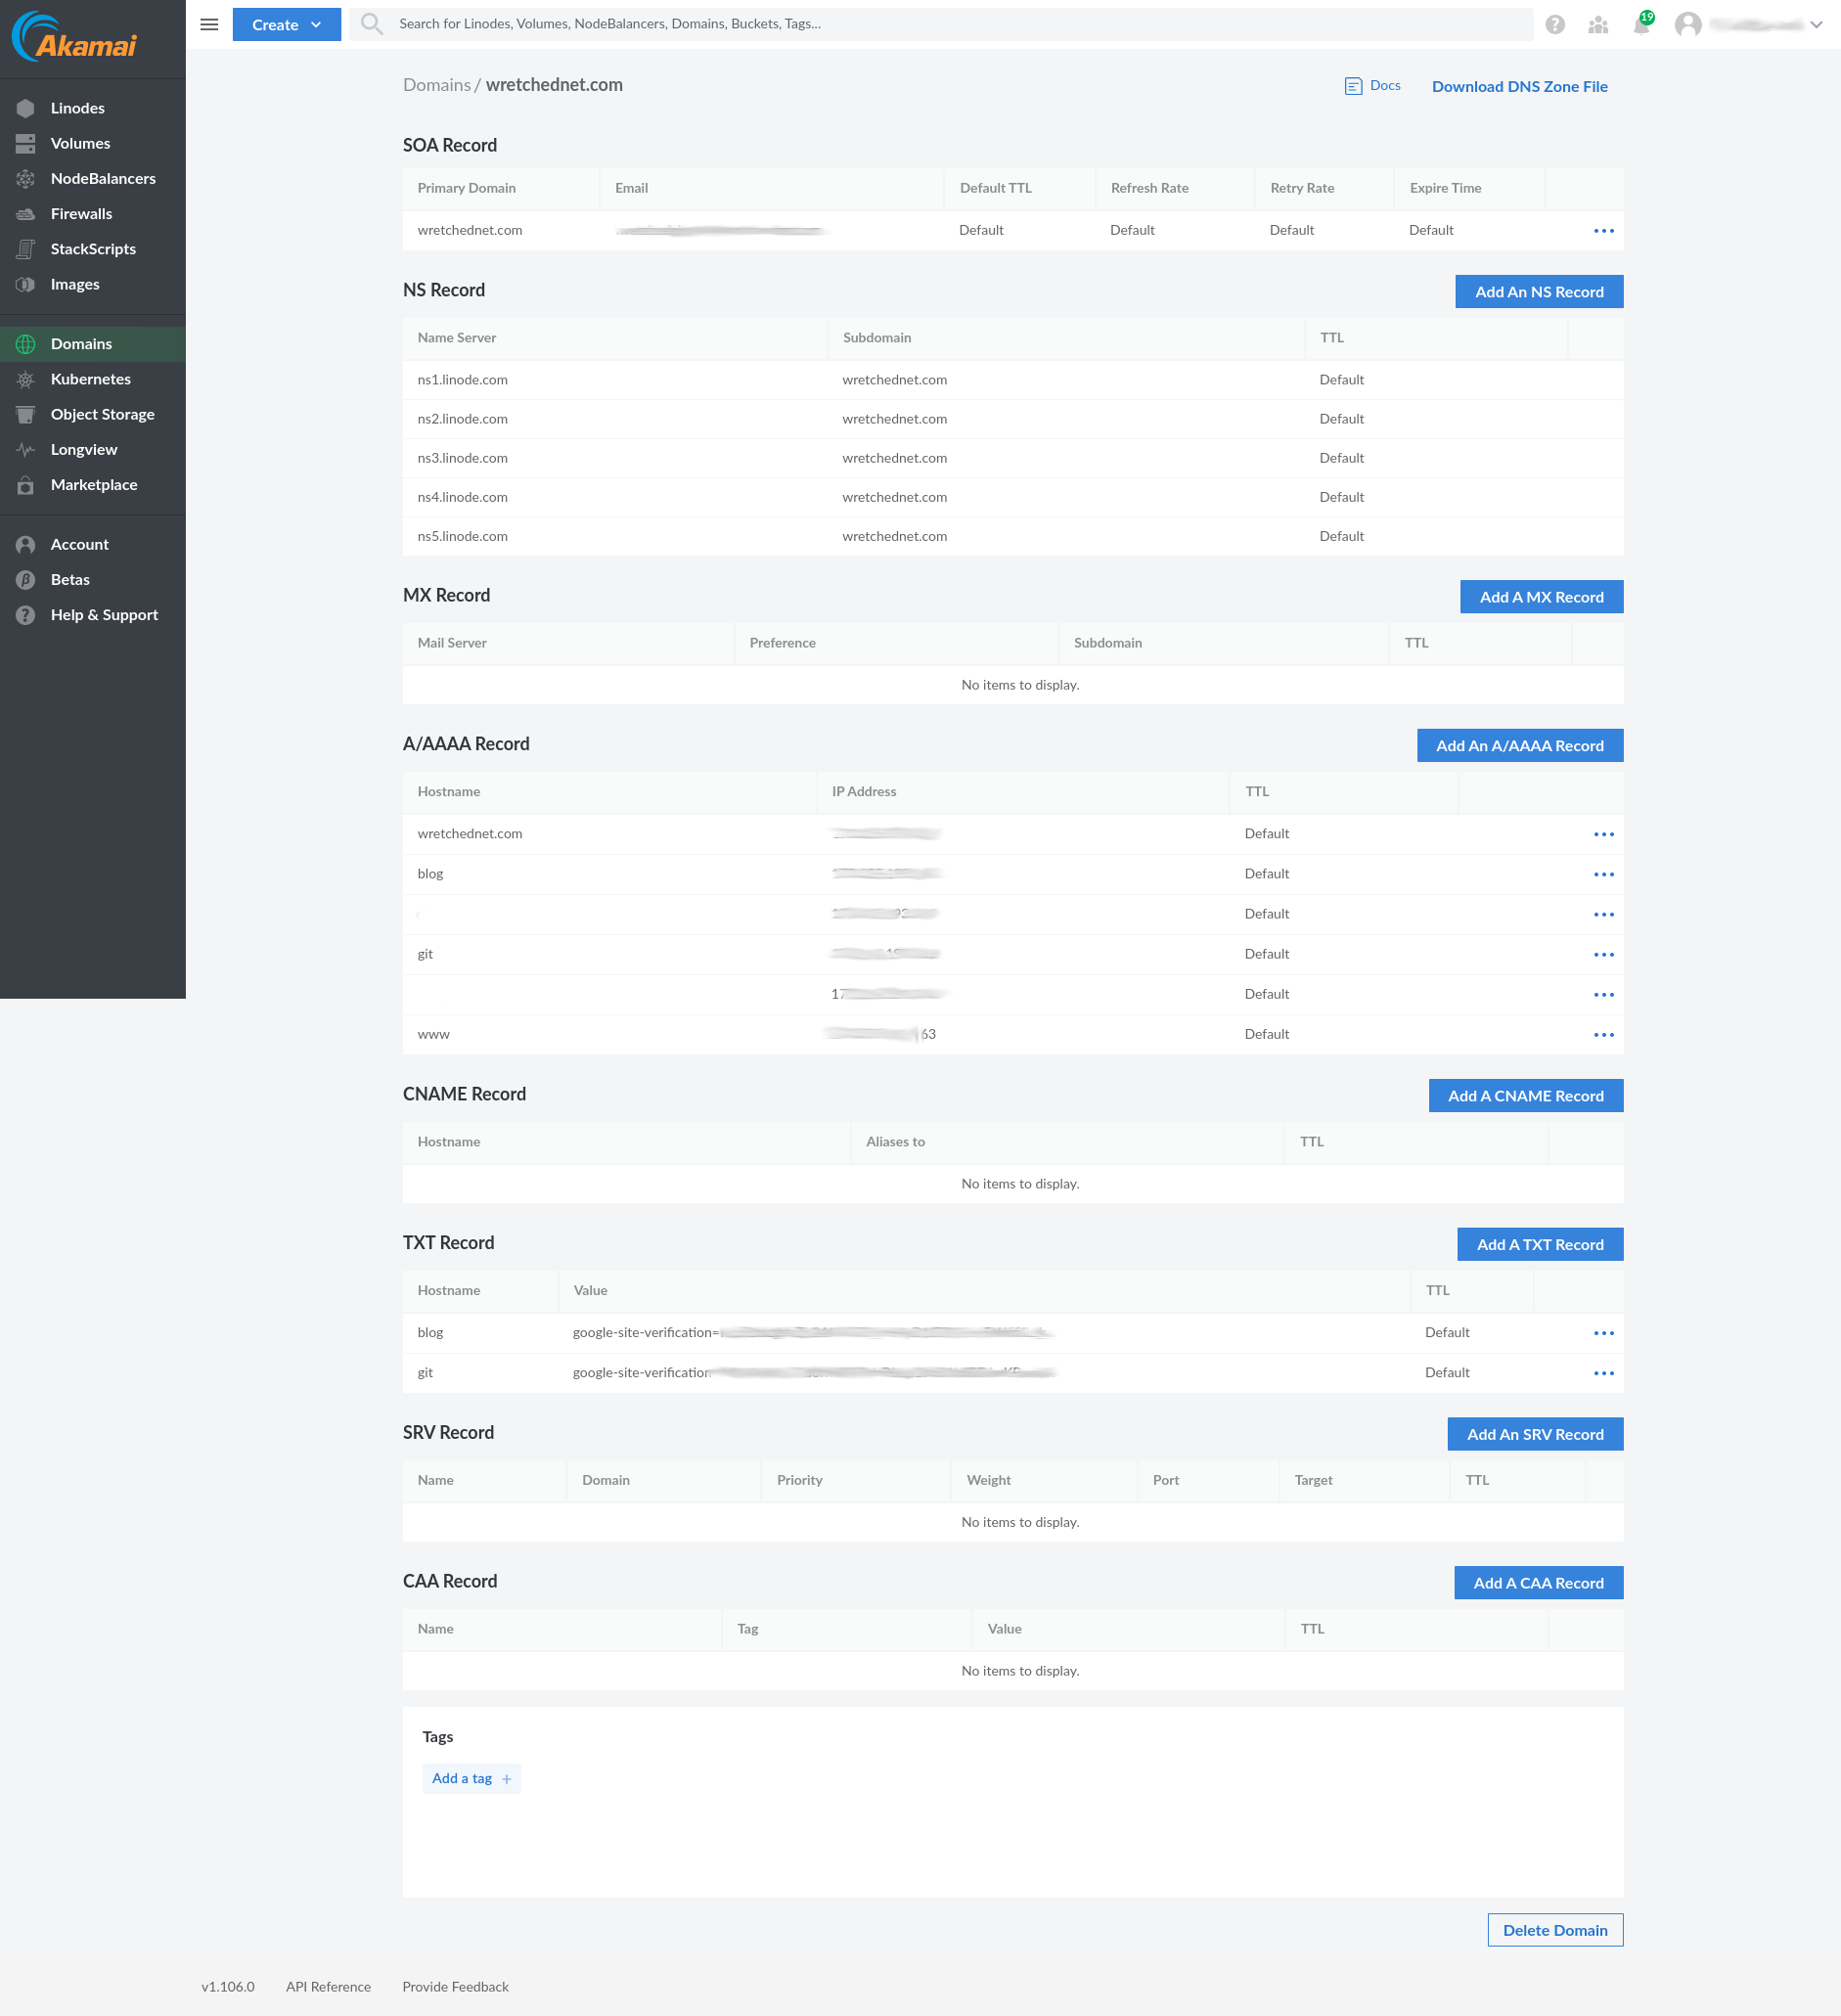
Once those are setup we can now install and run certbot.
$ sudo apt install certbot python3-certbot-nginx
$ sudo certbot --nginx --agree-tos --redirect -d nextcloud.wretchednet.com
$ sudo systemctl reload nginx
If all goes well you should have SSL installed on your subdomain now.
Login and configure
We can now head to your site for the final config.
username: any user name you want pass: any password Data Folder: /var/www/html/nextcloud/data DB User: user you created in the database DB pass: password you created in the database setup DB name: nextcloud (unless you changed it) localhost
Finish Setup
From here there are many tweaks available if you desire but for this most part you now have a running and working Nextcloud instance. Head to Part 2 for the gpodder and AntennaPod setup. Part 2.